If you’ve ever experienced the frustration of a Kenmore dishwasher not draining properly, you’re not alone. This common issue can be caused by a variety of factors, from a clogged air gap to a malfunctioning drain pump. But fear not, because in this comprehensive guide, we’ll walk you through step-by-step how to diagnose and fix the problem. So, say goodbye to standing water in your dishwasher and get ready to put those dishes back where they belong – in the cabinets, not in the sink!
Kenmore Dishwasher Not Draining
Is your Kenmore dishwasher feeling a little down in the dumps? Well, don’t worry, my friend, you’re not alone. Many frustrated homeowners like yourself have dealt with the infuriating issue of a Kenmore dishwasher that decides to ditch its draining duties. But fear not! In this comprehensive guide, we’ll tackle this problem like a superhero tackling a supervillain.
1. The Draining Drama Begins
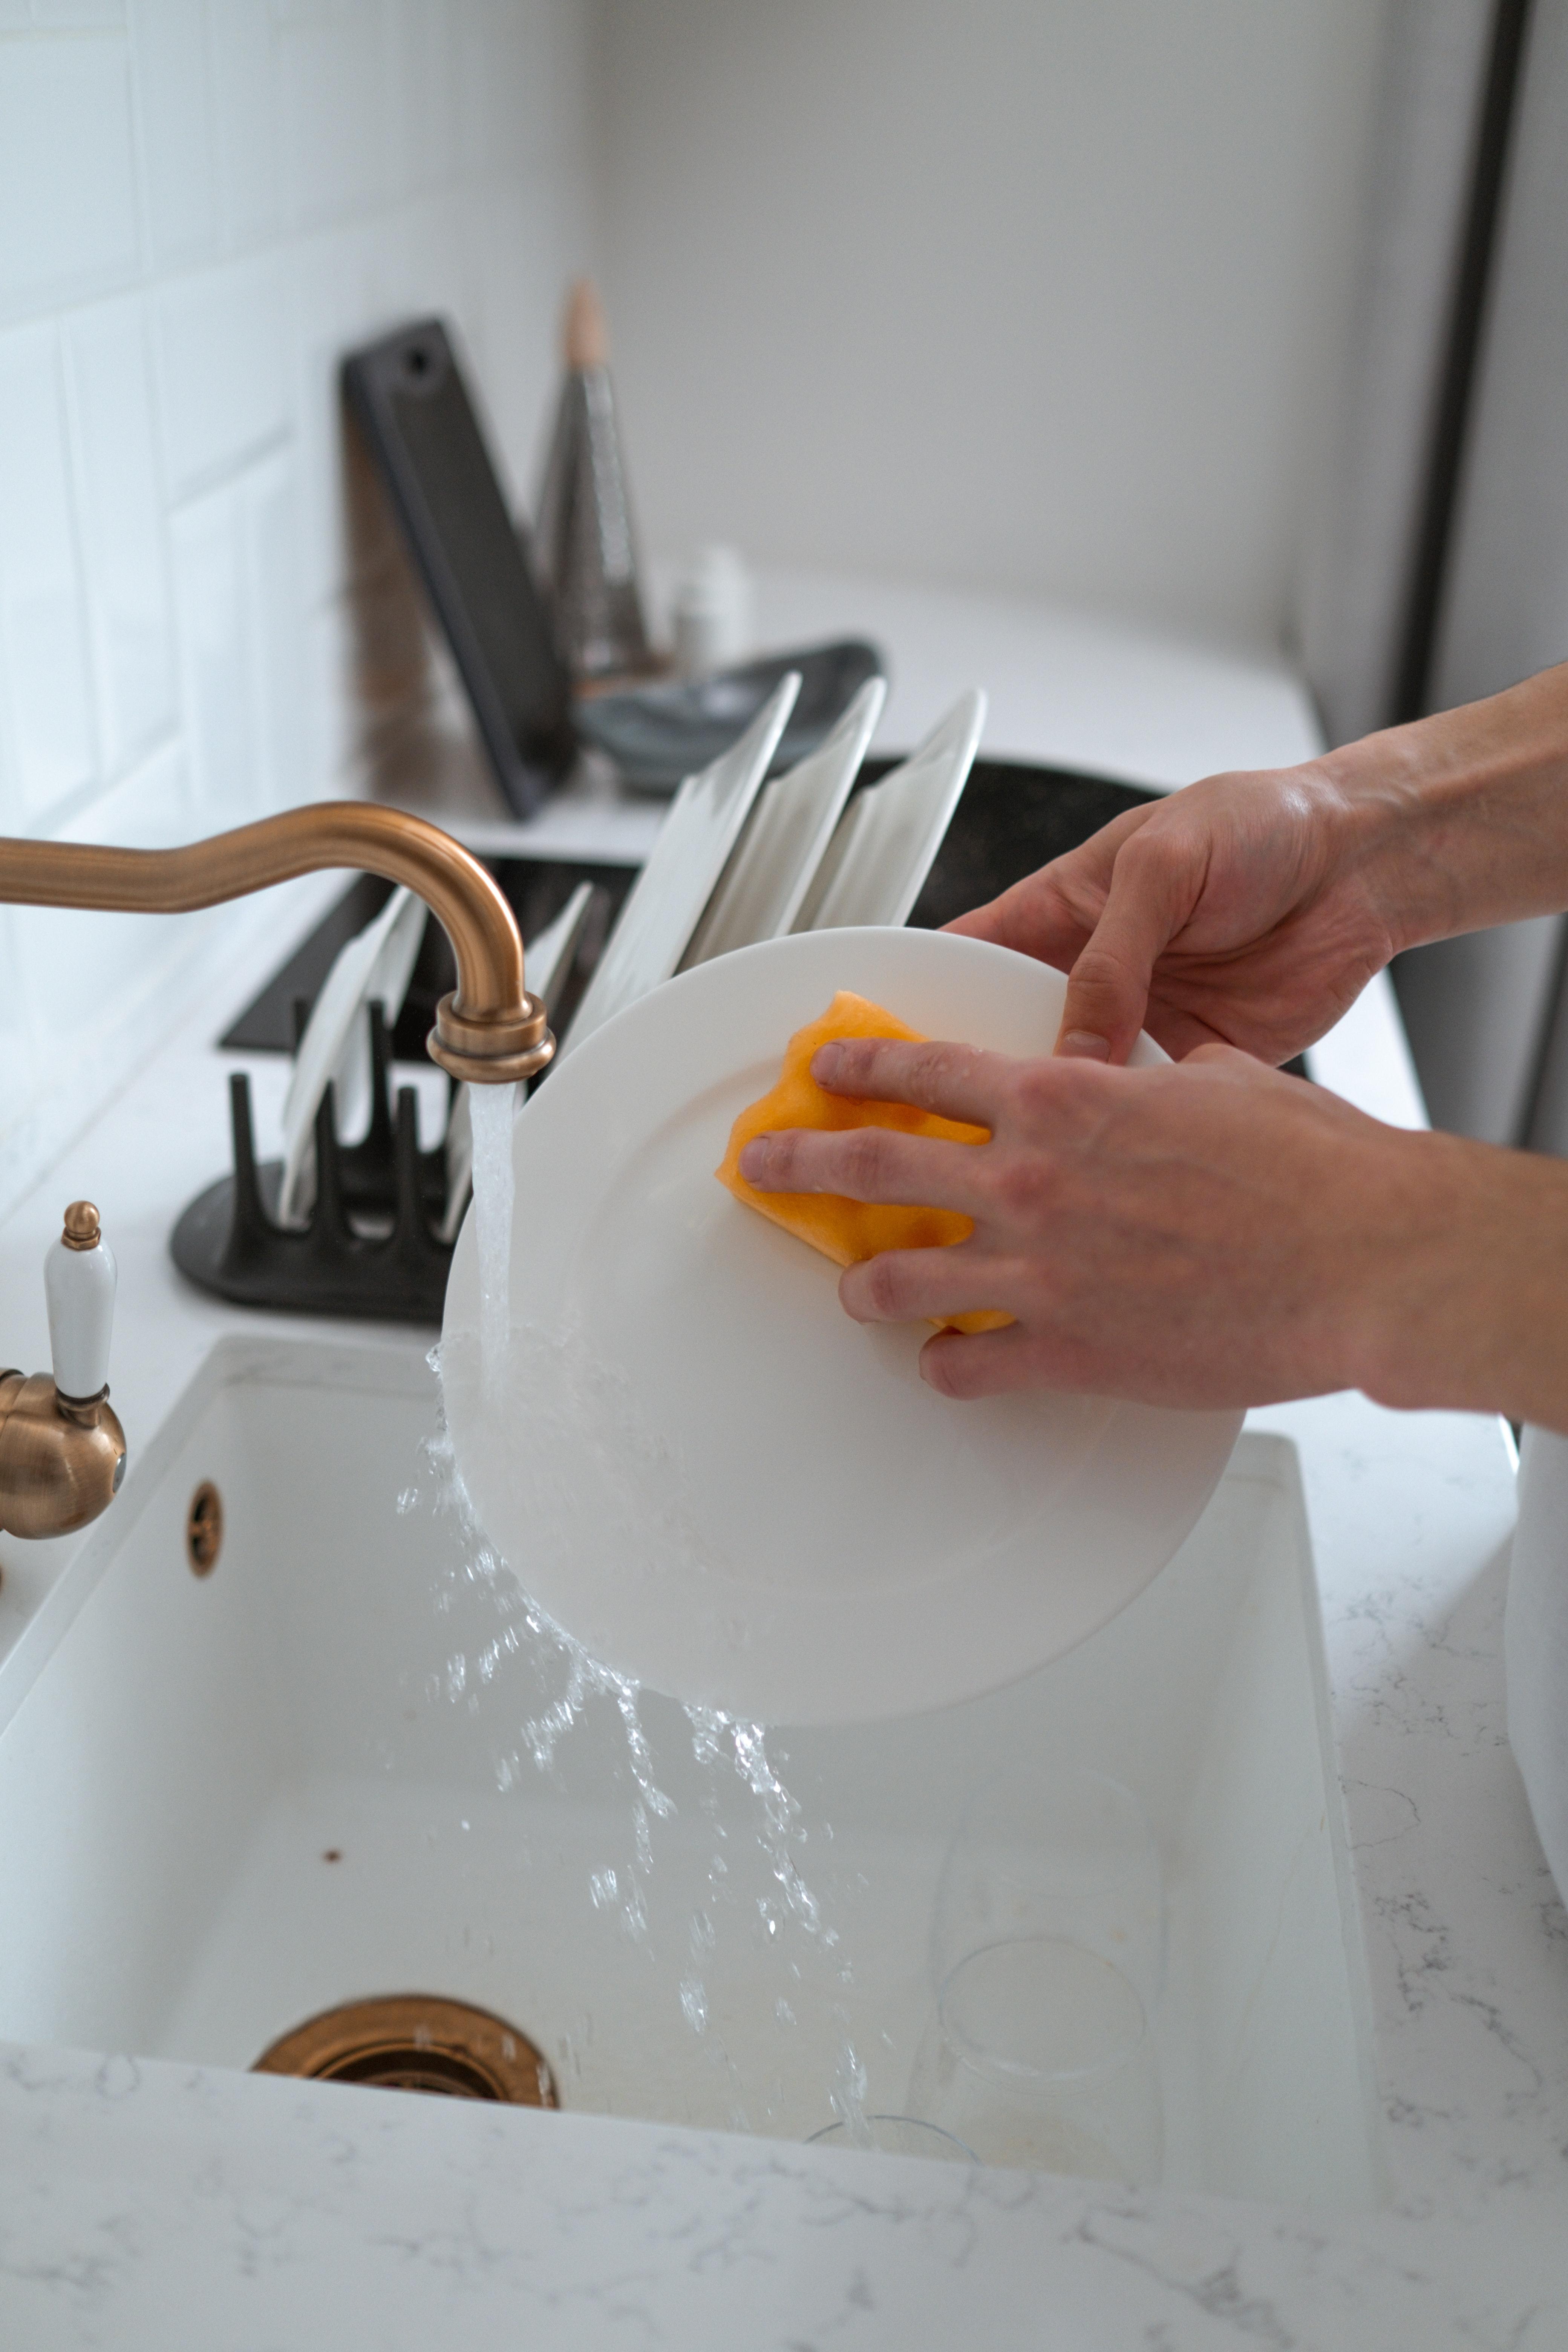
So, picture this: you’ve just enjoyed a delightful dinner party, filled with laughter and delicious food, and now it’s time to clean up. You load up your trusty Kenmore dishwasher, expecting a smooth and effortless cleansing process. But lo and behold, as the cycle finishes, you notice a small pond forming at the bottom of your dishwasher. Oops, it seems like our “draining drama” has begun!
2. Investigating the Drainage Dilemma
Now that we’re knee-deep in the menacing waters of our draining dilemma, it’s time to do some detective work. First and foremost, let’s check that pesky drain hose. It might be clogged with food debris or even a rogue spoon (no judgment here). So, roll up your sleeves, grab a flashlight, and give that drain hose a good inspection. If you discover any blockage, clear it out and give that dishwasher a round of applause – problem solved!
3. Hocus Pocus – Checking the Disposal Connection
You know what they say, my friend, sometimes magic is just about connecting the right dots. In our case, it’s connecting the dishwasher to the disposal. Yes, it may sound like a magical spell, but it’s actually a practical step in solving our drainage dilemma. Make sure the connection between your dishwasher and disposal is secure and free from any blockages. If it’s not, well, abracadabra – fix it, and watch that water disappear into thin air!
4. Say Hello to Your Friend, the Air Gap
Ah, the air gap. Not to be confused with an actual gap in the airspace, this little device is designed to prevent any wastewater from flowing back into your dishwasher. It’s like having a bouncer at the club, but, you know, for water. So, being the responsible homeowner you are, give that air gap a visit. Make sure it’s clean and functioning properly. Because remember, no one likes a bouncer who falls asleep on the job!
5. Calling in the Reinforcements: The Drain Pump
Sometimes, despite our best efforts, the drain pump might decide to wage war against us. But fear not, my friend, you can fight back! Check the drain pump for any obstructions or damage. If you spot a clog, carefully remove it, or if the pump is faulty, consider replacing it. After all, a dishwasher doesn’t become a superhero without a trusty drain pump by its side!
6. When All Else Fails: The Almighty Professional

If you’ve tried all the tips and tricks mentioned above, and your Kenmore dishwasher is still playing the “not draining” game, it’s time to bring in the big guns – the professionals. There’s no shame in throwing in the towel and admitting defeat. Sometimes, a skilled technician is our knight in shining armor, armed with the knowledge and experience to rescue your dishwasher from the clutches of drainage doom.
So there you have it, my dear reader, in your battle against a Kenmore dishwasher that refuses to drain, you now wield an arsenal of knowledge and humor. Remember, stay calm, stay determined, and remember to always laugh in the face of draining disasters!
Kenmore Dishwasher Air Gap
One potential cause of a Kenmore dishwasher not draining properly could be an issue with the air gap. The air gap is a small device located on the kitchen sink or countertop, usually next to the faucet. It prevents dirty water from flowing back into the dishwasher and contaminating clean dishes. In this section, we’ll dive into the workings of the air gap and explore some troubleshooting tips.
How Does the Air Gap Work
The air gap works on a simple principle: it creates a gap of air between the dishwasher drain hose and the kitchen sink drain. This barrier prevents backflow and ensures that dirty water cannot travel from the sink drain back into the dishwasher. It’s like a gatekeeper, protecting your dishwasher from the murky depths of the sink.
Checking for Clogs
Sometimes, the air gap can become clogged, leading to drainage issues. To check for clogs, start by removing the chrome cover of the air gap. Be sure to place a towel underneath it to catch any water that may spill out. Next, remove the plastic cap underneath the chrome cover. If you see any debris or gunk, give it a good cleaning. An old toothbrush can come in handy here. Rinse everything thoroughly and reassemble the air gap. This simple step might just be the answer to your drainage woes.
Ensuring Proper Installation
It’s important to ensure that the air gap is properly installed for it to work effectively. Start by making sure the air gap is higher than the sink drain. This height difference creates the necessary air barrier. Additionally, check that the dishwasher drain hose is connected securely to the air gap. Any loose connections can compromise the effectiveness of the air gap. So tighten those screws and make sure everything is snug.
Testing the Air Gap
Now, let’s put the air gap to the test. Start by running water in the sink. Once it’s flowing, turn on your dishwasher and listen carefully. If you hear the familiar gurgling sound, it means the air gap is doing its job. The gurgling noise indicates that air is being pulled through the air gap, preventing any backflow. So, if your dishwasher is draining properly, you can give your air gap a pat on the back for a job well done.
Additional Tips and Tricks
If you’ve followed all the steps mentioned above and the dishwasher still isn’t draining properly, fear not. There are a few more things you can try. First, check if your garbage disposal is clear. A clog in the garbage disposal can affect dishwasher drainage. Secondly, inspect the drain hose for any kinks or blockages. Straightening out any kinks and removing any debris can work wonders. Finally, if all else fails, it might be time to call in the experts. A professional dishwasher repair technician can help diagnose and fix the issue.
The air gap, that unsung hero of the kitchen sink, plays a crucial role in ensuring your Kenmore dishwasher drains properly. By maintaining a gap of air, it prevents any dirty water from flowing back into the dishwasher, keeping your dishes sparkling clean. So, if you’re experiencing drainage problems, don’t forget to give your air gap some love. Clean it, check its installation, and put it to the test. With a little TLC, your dishwasher will be back to its draining best in no time.
Kenmore Dishwasher Drain Pump Test
So, your Kenmore dishwasher is not draining? Don’t worry, we’ve got your back! In this section, we’ll walk you through a quick and easy drain pump test to help troubleshoot and identify any issues with your dishwasher’s drainage system. Trust us, it’s easier than trying to explain to your significant other why the sink is overflowing with dirty dishwater!
Step 1: Feeling the Power? Or Not
First things first, let’s make sure your dishwasher is getting the power it needs. Double-check that it’s plugged in properly and that the circuit breaker hasn’t tripped. If everything looks good, go ahead and put on your detective hat because we’re about to get to the bottom of this draining mystery!
Step 2: The Drain Pump – Silent Guardian of Clean Dishes
Now, it’s time to channel your inner superhero and find the drain pump. It’s usually located at the bottom of your dishwasher, protected by a snazzy-looking cover. As much as we’d love to see you attempt a daring superhero entrance, let’s play it safe and turn off the power to your dishwasher before proceeding.
Step 3: Draining Your Inner Sherlock
With the power off, remove the cover from the drain pump to reveal its majestic glory. Okay, maybe it’s not that majestic, but it certainly plays a crucial role in the dishwasher’s drainage system. Locate the impeller—a fancy term for the fan-like blades of the drain pump. Give it a gentle spin to see if it moves freely. If it’s jammed or doesn’t budge, well, we might have just cracked the case, detective!
Step 4: The Oh-so-mysterious Impeller
Now, we need to put our investigative skills to the ultimate test. Grab a multimeter—a nifty little gadget that measures electrical current—and set it to the resistance measurement mode. Carefully, without actually touching the impeller, locate the two electrical terminals of the drain pump and measure the resistance between them. If your multimeter is showing an open circuit, it’s time to summon your DIY skills and replace the drain pump like the hero you are!
Step 5: The Final Verdict
After going through the previous steps, if everything seems to be in working order, it’s time to seek guidance beyond our humble investigative abilities. Consulting a professional may be the next best step to resolve the dishwasher’s draining conundrum. Just remember, even superheroes need a little help from time to time.

And there you have it, dear reader! By following these easy steps, you’ve embarked on a journey to revive your Kenmore dishwasher’s draining superpowers. Now go forth and tackle those dirty dishes like the hero you are!
Dishwasher Not Draining After Cycle
Is your Kenmore dishwasher leaving you with a sink full of sudsy water after a completed cycle? Fear not, you’re not alone in this watery predicament. A dishwasher that refuses to drain can turn your kitchen into a waterpark, and not the fun kind. But worry not, my friend, we’ve got your back—with a touch of humor, of course!
Potential Causes of the Drainage Debacle
1. Don’t Play Hide and Seek with the Drain Hose
The first place to check when your dishwasher decides to hold its water-filled ground is the drain hose—one sneakily situated little devil. Ensure it’s properly connected and not clogged or twisted into positions that would make a contortionist proud. Poor thing, it’s a drain hose, not Cirque du Soleil!
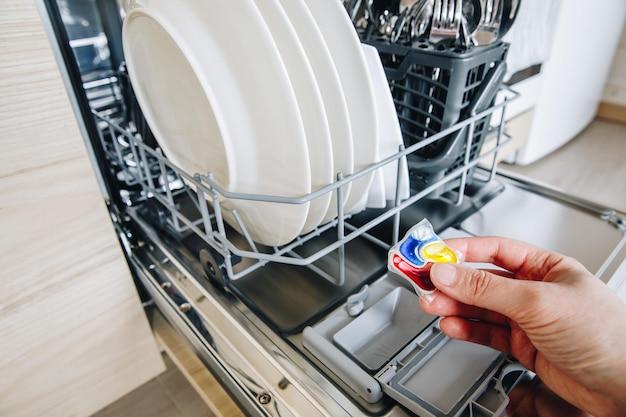
2. Keep Your Filters Fresh
Just like a spa day for your dishwasher, cleaning the filters allows water to flow freely, preventing any drainage drama. These filters are the gatekeepers of cleanliness, capturing debris that dares to venture into your dishwasher’s domain. Take them out, give them a good rinse, and enjoy the satisfaction of a perfectly filtered life—well, for your dishwasher, at least.
3. Beware of the Naughty Air Gap
Dishwashers have a little superhero hiding in plain sight: the air gap. It’s there to prevent any dirty water from flowing back into your dishwasher and causing further chaos. But sometimes, this fearless protector can get clogged or choked with debris. Just a gentle cleaning will remind the air gap of its duty, and your dishwasher will be saved from its drainage distaste.
4. Love Your Garbage Disposer
Ah, the garbage disposer, that humble hero of your kitchen sink. It helps to break down food particles, but it can become a sneaky culprit in our drainage dilemma. Ensure it’s clear of any blockages, as a clogged garbage disposer can disrupt the flow of water from your dishwasher to the intended destination. Let’s give your garbage disposer a standing ovation for its daily grind—no pun intended.
5. The Mischievous Drain Valve
Now, let’s not blame everything on external factors. Sometimes, our beloved dishwasher just wants to cause a fuss. Inspect the drain valve to see if it’s stuck in the closed position, selfishly holding onto the water like a prized possession. A quick jiggle or some gentle encouragement should coax that drain valve back into its rightful open position. Please behave, dear dishwasher, we have dishes to clean!
There you have it, my friend—some laugh-filled tips to tackle your Kenmore dishwasher’s post-cycle drainage woes. Remember to check the drain hose, clean the filters, befriend the air gap, show love to your garbage disposer, and tame the mischievous drain valve. With a little humor and some DIY magic, you’ll have your dishwasher draining like a professional plumber’s dream. Say goodbye to a soggy sink and hello to sparkling clean dishes!
How to Manually Drain a Dishwasher
So, your Kenmore dishwasher has decided to throw a little temper tantrum and refuses to drain. Don’t worry, it’s not the end of the world (although it might feel like it when you have a sink full of dirty dishes). In this handy guide, we’ll show you how to manually drain your dishwasher and get it back to its obedient, dishwashing self.
The First Step: Safety First, Folks!
Before you start tinkering with your dishwasher like a mad scientist, we need to ensure your safety. Unplug the power cord or turn off the fuse of your dishwasher to prevent any electrical mishaps. The last thing we want is a zap that sends you flying across the kitchen like a cartoon character.
Grab Your Trusty Tools
You’ll need a few supplies to tackle this draining mission. Make sure you have a bucket, towels, and maybe even a plunger (yes, you heard me right, a plunger). Trust me, we’re going to have a fun time with that plunger – oh, the joys of adulting.
Let’s Get Down and Dirty
Okay, let’s get real here – dishwashers are supposed to wash and drain, not hold onto dirty water like it’s their life purpose. The first place to check is the drain basket. It’s like a little treasure trove of gunk that might be causing the blockage. Carefully remove the basket and be prepared to come face to face with some, let’s say, interesting discoveries. Clean out any debris or food particles lurking in there. It might not smell like roses, but we’re not here for the aromatherapy.
Take a Plunge
Now, it’s time to bring out the plunger. I know, it might feel strange to use a plunger on your dishwasher, but desperate times call for desperate measures. Place the plunger over the drain opening and give it a few good plunges. That should create enough suction to dislodge any clogs that are causing the draining issue. Make sure you create a tight seal, though. We don’t want your dishwasher spraying its contents like a fountain.
Untangling the Hose
If plunging didn’t do the trick, it’s time to get up close and personal with the drainage hose. Unfortunately, it’s not as glamorous as it sounds. The hose is usually connected to your sink’s plumbing, so unscrew it carefully and check for any kinks, blockages, or even critters that might be calling it home. Don’t worry, I won’t judge if you have a screaming match with a spider. Once you’ve cleared any obstructions, reattach the hose securely to its rightful place.
The Final Countertop Test
Alright, we’ve done all the dirty work, so it’s time for the moment of truth. Plug your dishwasher back in (or turn on the fuse) and run it through a cycle while keeping a close eye on the draining process. If everything goes according to plan, you should see the water happily swirl down the drain, never to be seen again. Ah, victory!
While dealing with a stubborn dishwasher drain can make you question your life decisions, fear not! By following these simple steps, you can manually drain your Kenmore dishwasher and avoid hours of hand-washing dishes. Remember, just like life’s little challenges, this too shall pass. Happy draining, folks!
Why is there water in the bottom of my Kenmore dishwasher
So, you’ve diligently loaded up your trusty Kenmore dishwasher with a sink full of dirty dishes, expecting sparkling results. But alas, as you eagerly open the dishwasher door, a disappointing sight greets you – water pooling at the bottom. Why, oh why, is there water in the belly of the beast?
Let’s Dive Deeper: Uncovering the Culprits
1. You Spin Me Right Round (Not): Dirty or Clogged Drainage Mechanism
Picture this: after a long day of dishwashing duties and handling unruly plates, your dishwasher’s drainage mechanism becomes weary. It’s practically screaming, “I can’t take it anymore!” And yes, while dishwashers don’t technically talk, this is a hypothetical scenario to illustrate a point. When debris, food particles, or perhaps a rogue fork end up blocking your dishwasher’s drainage, water can’t escape. It’s like a traffic jam in Dishwasherville, and the result is water accumulating at the bottom.
2. The Jigsaw Puzzle of Plumbing: Faulty Dishwasher Connection
Ah, the complex world of plumbing. We often take it for granted, but it plays a crucial role in our daily lives. If your Kenmore dishwasher is not properly connected to the plumbing system, a little bit of water can find its way back into the dishwasher. It’s like a boomerang effect, but without the fun and games. In this case, the water is meant to flow out, not circle back in.
3. Soap Opera Drama: Excessive or Incorrect Detergent Usage
Now, let’s talk about that infamous dishwasher soap opera. You see, dishwashers have their preferences too. Each brand and model requires a specific amount and type of dishwasher detergent. If you go rogue and use too much or the wrong kind, it can lead to oversudsing, creating a lovely bubble bath for your dishwasher. But remember, your dishwasher is not interested in full-body, waterless swims. It prefers to remove leftover food, not frolic in a sea of bubbles. Too many suds can cause your dishwasher to leave some water behind.
Troubleshooting Tips: Your Drainage Dilemmas Demystified
1. Clear the Path: Cleaning the Drain and Filter
First things first – to tackle the Grim Reaper of dishwasher drainage problems, you need to clean the drain and filter. Remove any visible debris, such as pesky food particles or your long-lost spoon collection, that might be blocking the drainage mechanism. This uncomplicated task could be the solution to your water pooling predicament.
2. Plumbing Plight: Double-Check Your Dishwasher Connection
Ensure that your Kenmore dishwasher is connected to the plumbing system correctly. A loose connection or a faulty pipe can cause water to flow back into the dishwasher instead of making a grand exit. Take a moment to inspect the plumbing, tighten any loose connections, and ensure smooth sailing for your dishwasher drainage.
3. Suds No More: Mind Your Detergent Demeanor
Be kind to your dishwasher’s sensitive soul by using the proper detergent in the recommended amount. Consult your dishwasher’s manual for the golden rules of detergent dosage and type. By avoiding excessive suds and following the manufacturer’s instructions, you’ll be aiding your dishwasher’s quest for cleanliness and a pristine drainage system.
So, the next time you encounter a Kenmore dishwasher with water lurking at the bottom, don’t panic. Remember our troubleshooting tips and delve into the world of dishwasher drainage problems fearlessly. Bid adieu to water pooling and embrace a future of sparkling clean dishes and an abyss without aquatic surprises!