So you’ve finally decided to invest in a garage door opener to add convenience and security to your home. But before you jump into the installation process, there’s one crucial element you need to consider: the garage door opener bracket.
In this blog post, we’ll discuss everything you need to know about garage door opener brackets, including their purpose, the importance of horizontal reinforcement, and how to attach a garage door opener to your door. By the end, you’ll be equipped with the knowledge to confidently install your own garage door opener bracket, ensuring a reliable and secure system. So let’s dive in and get started on enhancing your home security!
Garage Door Opener Bracket Installation
When it comes to garage door opener brackets, it may not be the most glamorous topic, but it plays a crucial role in the smooth functioning of your garage door. The bracket acts as a sturdy support, connecting the garage door opener to the door. Without a properly installed bracket, your garage door opener might have to take an unscheduled vacation, leaving you with the inconvenience of manually opening and closing the door. Nobody wants to do that in this day and age—let’s bring back the convenience of technology!
Gather Your Tools and Grab a Friend!
Before you embark on your garage door opener bracket installation adventure, gather your tools and recruit a trusty assistant. You’ll need some basic tools such as a drill, a level, a wrench, and possibly a ladder, depending on your garage door’s height. Also, don’t forget to grab a friend who’s willing to trade their biceps for some pizza and laughs. Installing the bracket can be a two-person job, and it’s always more fun with a buddy!

Safety First: Switch Off the Power
Make sure you don’t turn your garage door opener into a shockingly electrifying experience. Safety should always be the top priority! Before you begin the installation, disconnect the power to your garage door opener. A sudden jolt might not bring out the superhero in you. Better safe than the Flash, right?
Get Measuring and Mark It Up!
Now it’s time to get precise with some measurements. As they say, measure twice, drill once! You’ll need to measure the distance between the top of your garage door and the ceiling. This will determine the location of your bracket. Mark the spot and make sure it aligns with the door’s horizontal track. Sticking to the plan and avoiding wonky installations will save you from future headaches. Straight lines are our friends!
It’s Drilling Time!
With the bracket location marked and aligned, it’s time to put that drill to good use. Drill holes into the ceiling and attach the bracket using screws suitable for the material. Make sure everything is secure and sturdy, just like a rockstar’s guitar strap. Keep in mind that the number of holes and screws may vary depending on the type and weight of your garage door. Remember, we’re aiming for durability, not rock ‘n roll chaos!
Swing That Arm!
Once the bracket is securely installed, it’s time to connect the arm from the opener to the bracket. This arm is what will actually move your garage door open and closed, so make sure it’s firmly attached. Double-check your connections and tighten any loose bolts. We’re building a strong bond here—no loose ends allowed!
Testing, Testing… 1-2-3!
Congratulations, you’ve successfully installed your garage door opener bracket! But before you break out the champagne and celebrate your newly automated garage door, let’s make sure everything is in perfect working order. Activate the garage door opener and watch as your door glides up and down seamlessly. Feel the satisfaction of a job well done! Now go and enjoy the convenience of a smoothly functioning garage door—because you deserve it!
Wrapping Up
With a little bit of planning, some tools, and the help of a friend, installing a garage door opener bracket can be an entertaining and gratifying experience. Remember, safety first! Don’t forget to follow the manufacturer’s guidelines and consult a professional if you encounter any unexpected challenges. Now, go forth and conquer that garage door opener bracket installation like the superhero DIY-er you are!
Garage Door Horizontal Reinforcement Bracket Installation
If you’ve ever experienced the panic-inducing scene of your garage door almost collapsing in on itself, then you’ll know why a horizontal reinforcement bracket is an absolute game-changer. This little piece of magic adds an extra layer of support to your garage door opener bracket, ensuring it stays put, no matter what shenanigans your door might get up to. Whether it’s a stray basketball, a gusty breeze, or a mischievous squirrel, this bracket has got your back, or rather, your garage door’s back.
The Sandwich of Strength
Think of the horizontal reinforcement bracket as the bacon in a BLT sandwich – it brings that extra oomph to the equation. Installed between the top of your garage door opener bracket and the garage ceiling, it forms a strong, sturdy bond that will withstand the test of time. Just like bacon adds mouth-watering flavor to a sandwich, the horizontal reinforcement bracket adds solid support to your garage door system, making it more resistant to wear and tear.
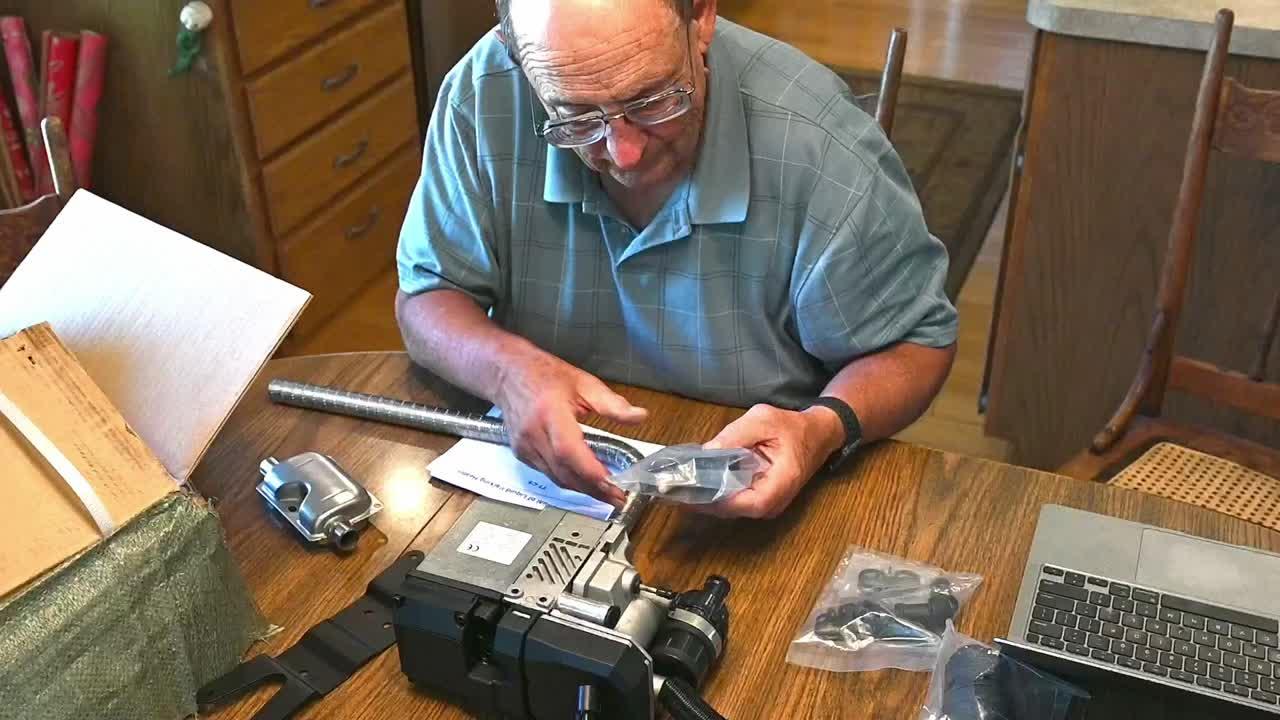
Tools You’ll Need
Before you dive into installing your horizontal reinforcement bracket, let’s take a quick inventory of the tools you’ll need. Don’t worry; they won’t be anything exotic or hard to find. Here’s what you’ll need:
- A ladder: So you can reach the ceiling safely.
- A screwdriver: The trusty companion of every DIY enthusiast.
- Screws: Make sure they’re the right size and sturdy enough to hold up your door.
- A measuring tape: Precision is key here, folks.
- A level: You want to make sure your door is hanging straight, just like your favorite pop star from the ’90s.
- A helping hand: This one is optional, but a friend or family member can make the process a lot more fun, and it’s always nice to have someone to blame if anything goes wrong.
Let’s Get Physical
Now that you’re armed with your tools, it’s time to get physical and start installing that horizontal reinforcement bracket like the DIY warrior you are. Here’s a step-by-step guide to help you along the way:
Step 1: Locate the Perfect Spot
Grab your trusty measuring tape and locate the center of your garage door. Measure 4 inches below that spot and mark it with a pencil. This is where the top of your horizontal reinforcement bracket will go. Oh, and don’t forget to make sure your garage door is closed before you start climbing up that ladder. Safety first, folks!
Step 2: Get Level
No, I don’t mean you should start dancing your heart out. Grab your handy level and make sure the marked point aligns horizontally with the door track. Adjust if necessary, so everything is nice and level. Picture a cat balancing on a tightrope – that’s the kind of precision we’re aiming for here.
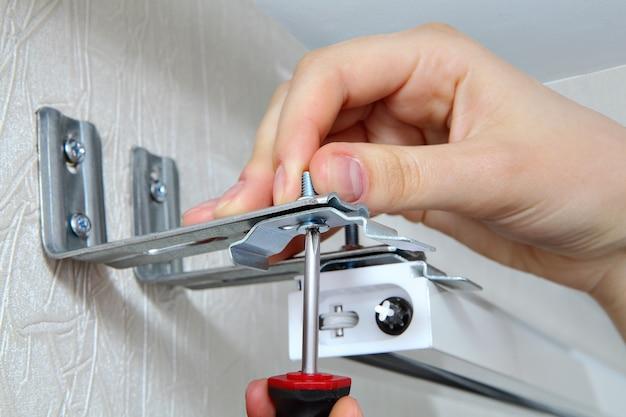
Step 3: Brace Yourself
Now that you have the perfect spot, grab your horizontal reinforcement bracket and position it against the ceiling, making sure it’s centered with the marked point. Get your helper, if you have one, to hold the bracket in place while you zip through the next step.
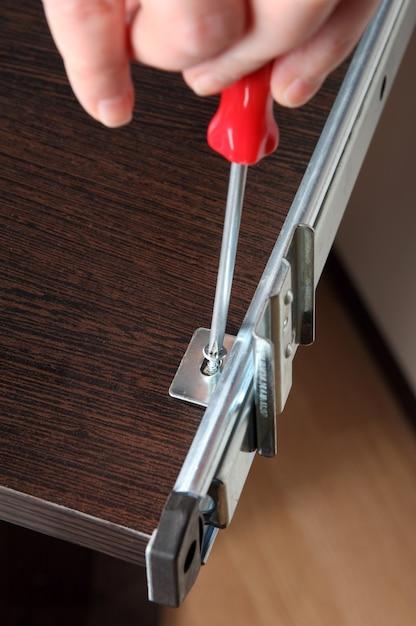
Step 4: Screw It All Together
Take your screwdriver and start screwing in the screws through the bracket holes into the ceiling. Go slowly and make sure everything is nice and snug. You don’t want any wobbly screws or loose ends here. And voilà! You’ve successfully installed your horizontal reinforcement bracket. Time for a well-deserved celebration dance!
Wrapping It Up
Installing a horizontal reinforcement bracket might not be as exciting as watching paint dry, but it sure is a game-changer when it comes to the stability and longevity of your garage door system. So, grab your tools, summon your inner DIY warrior, and get ready to give your garage door the support it deserves. You’ve got this!
How to Attach a Garage Door Opener to a Door
So, you’ve finally decided to upgrade your garage door with a fancy new opener. Good choice! But now comes the question: how do you actually attach that thing to your door? Well, fear not, my friend, because I’ve got you covered.
It’s a Bracket Party!
The first step in this wild ride of garage door opener attachment is finding the perfect spot to place the bracket. It’s like finding the right place to hang a painting in your house, but way more exciting. Start by measuring the distance from the top of the garage door to the ceiling, usually around 10-12 inches or so (no need to bring out the tape measure, just eyeball it).
Show Me the Money (I mean, Bracket)!
Once you’ve determined the ideal location, it’s time to grab that trusty drill and create some magic. Attach the bracket to the ceiling with screws, making sure it’s nice and secure. You don’t want your garage door opener falling on your head while you’re working on your DIY masterpiece, right?
Hangin’ with the Arm
Alright, now it’s time to get cozy with the arm of your garage door opener. This arm is like the best friend to your garage door – always there to lend a helping hand (or should I say, arm?). Connect one end of the arm to the bracket you just installed. Make sure it’s nice and snug, just like a warm hug from a loved one.
Attach that Opener, Baby!
It’s finally time to bring in the star of the show: the garage door opener itself. Grab that bad boy and attach the other end of the arm to it. This is where things get real exciting. It’s like introducing two long-lost friends and watching them reunite in a tearful embrace. Ah, the beauty of technology!
Safety Comes First
Now, before we start celebrating too early, let’s not forget about safety. Attach the safety rope or chain to the release mechanism of the garage door opener. This will ensure that the door won’t come crashing down on you or anyone else, because safety is cool, my friend. Safety is cool.
Let the Opener Do Its Thing
And voila! You’ve successfully attached your garage door opener to your door. Pop open a cold one (soda, of course) and watch in awe as your garage door effortlessly opens and closes at the push of a button. It’s like having your own personal superhero at your service, minus the cape and spandex.
Remember, installing a garage door opener is a DIY project that can add convenience and ease to your everyday life. So, go forth and conquer that garage door opener installation like the rockstar you are!