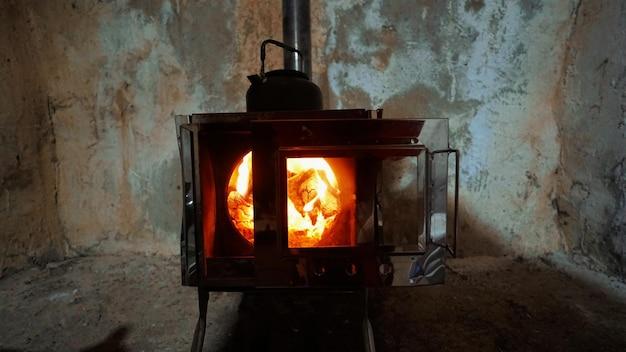
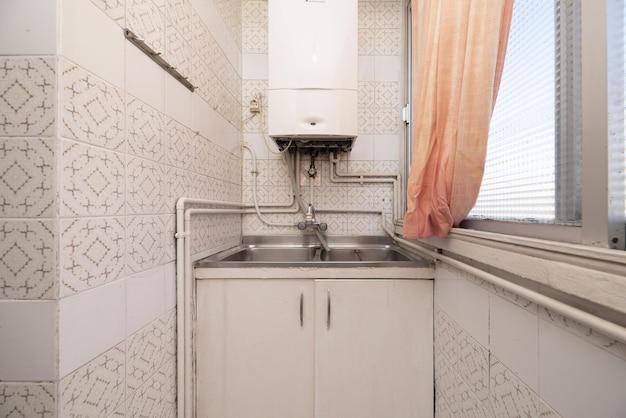
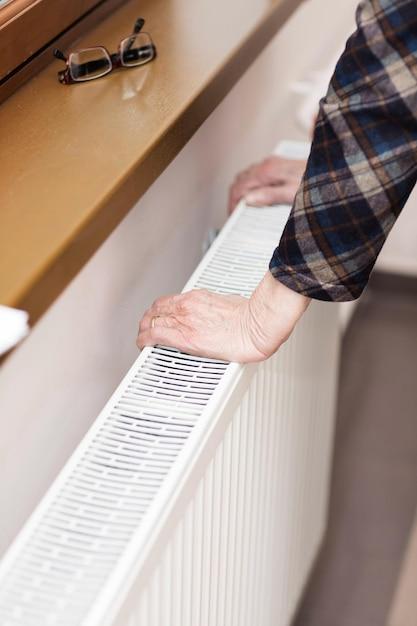
Are you tired of relying on an outdated gas heater that’s barely keeping you warm during those chilly winter nights? It’s time to bid farewell to your old companion and welcome a more efficient heating solution. But wait! Before you can enjoy the warmth of a new heater, you’ll need to go through the process of removing the old one. Don’t worry, we’ve got you covered.
In this comprehensive guide, we’ll walk you through the step-by-step process of safely removing your old gas heater. Whether you’re dealing with a Rinnai gas heater or one installed in a fireplace, we’ve got tips and tricks to help you out. But before we dive into the nitty-gritty, you might be wondering, why bother removing an old gas heater in the first place?
Safety should be your utmost concern when it comes to using gas heaters, especially if they’re old. Over time, these heaters can develop faults that not only decrease their efficiency but also pose serious risks. From gas leaks to carbon monoxide poisoning, the consequences of a faulty gas heater can be dire. So, it’s better to be safe than sorry.
Now, you might be wondering about the cost involved in removing a wall heater. Let us put your mind at ease – removing a wall heater doesn’t have to break the bank. The price can vary depending on factors such as the type of heater, its location, and any additional complexities. We’ll touch on this in more detail later on.
So, if you’re ready to say goodbye to your old gas heater and embrace a safer, more efficient heating solution, let’s dive into the world of heater removal. Whether you’re a seasoned DIY enthusiast or a first-time remover, this guide will equip you with all the necessary knowledge to tackle the task with confidence. Let’s get started!
Old Gas Heater Removal
Why should you consider removing your old gas heater
If you have an old gas heater in your home, it’s time to give it some serious thought. Old gas heaters can be a safety hazard and may not be as efficient as newer models. Plus, they can take up valuable space and make your home look outdated. So, if you’re thinking about upgrading to a newer, more efficient heating system, here’s what you need to know about removing your old gas heater.
Safety first: the dangers of old gas heaters
One of the main reasons to consider removing your old gas heater is safety. Over time, old gas heaters can develop cracks and leaks, which can lead to the release of carbon monoxide, a deadly gas. Carbon monoxide is odorless and colorless, making it difficult to detect without proper monitoring equipment. By removing your old gas heater, you can eliminate the risk of carbon monoxide poisoning for you and your family.
Improved energy efficiency: save money and the planet
Another compelling reason to remove your old gas heater is to improve energy efficiency. Old gas heaters are notorious for being energy hogs and can significantly increase your monthly utility bills. By upgrading to a modern, energy-efficient heating system, you can save money on your energy bills and reduce your carbon footprint. Plus, many newer models come with programmable thermostats, allowing you to easily control the temperature in your home and optimize energy usage.
The professional touch: hiring a gas heater removal service
Removing an old gas heater is not a DIY project. It requires specialized knowledge and experience to disconnect and safely dispose of the unit. That’s where a professional gas heater removal service comes in. They will handle the entire process, from safely disconnecting the gas supply to properly disposing of the old unit. Hiring a professional ensures that the job is done correctly and minimizes the risk of accidents or damage to your home.
Making the switch: exploring alternative heating options
Once you’ve removed your old gas heater, you’ll need to consider alternative heating options. There are several choices available, depending on your needs and preferences. Some popular options include electric heat pumps, radiant floor heating, or even a modern gas heater with improved safety features. Research each option carefully, considering factors such as cost, energy efficiency, and the size of your home, before making a decision.
Conclusion: out with the old, in with the new
In summary, removing your old gas heater is a smart and necessary step to ensure the safety and energy efficiency of your home. By eliminating the risks associated with an old unit, you can protect your family from carbon monoxide poisoning and save money on your energy bills. Remember to enlist the help of a professional gas heater removal service to handle the process safely and efficiently. Explore alternative heating options to find the best fit for your home’s needs. It’s time to say goodbye to the old and embrace the new when it comes to your home’s heating system.
How to Remove a Rinnai Gas Heater
Introduction
If you’re tired of your old, clunky gas heater and want to replace it with something more efficient or stylish, you might be wondering how to remove a Rinnai gas heater. Don’t worry, we’ve got you covered! In this guide, we’ll walk you through the steps to safely and easily remove your old Rinnai gas heater, making way for an upgrade that will keep you warm and cozy during those chilly winter days.
Gather Your Tools
Before you dive into the removal process, make sure you have all the necessary tools at hand. You’ll need an adjustable wrench, pliers, screwdrivers (flathead and Phillips), and protective gloves. Safety first, folks!
Turn Off the Gas Supply
Just like with any gas-related task, safety is paramount. Start by turning off the gas supply to your Rinnai gas heater. Locate the shut-off valve on the gas line leading to the heater, usually found near the unit or in close proximity. Turn the valve until it’s perpendicular to the gas line, effectively shutting off the flow of gas.
Disconnect the Gas Line
With the gas supply off, grab your adjustable wrench and gently loosen the connection at the gas line. Make sure to protect your hands with the gloves, as this can be a bit messy. Once disconnected, cap the gas line to prevent any gas leakage during the removal process.
Disconnect the Power Source
Next, find the power source that supplies electricity to your Rinnai gas heater. It’s usually a dedicated electrical circuit or plug located near the unit. Safely disconnect the power source by unplugging it or turning off the circuit breaker that controls the heater.
Remove the Heater
Now comes the fun part! Grab a helping hand (or two) to safely remove the Rinnai gas heater from its current location. Carefully disengage any mounting brackets or screws that secure the heater to the wall or floor. Once loose, gently lift the heater free from its position and place it aside.
Clean Up and Final Thoughts
Congratulations, you’ve successfully removed your old Rinnai gas heater! Give yourself a pat on the back for a job well done. Now take a moment to clean up any dust, debris, or old insulation left behind. This will ensure a clean slate for your new heating system.
Remember, if you’re not confident in your DIY skills or don’t have the necessary tools, it’s always best to call in a professional to handle the removal for you. Safety should never be compromised when dealing with gas appliances.
Removing a Rinnai gas heater doesn’t have to be a daunting task. With the right tools, safety precautions, and a little know-how, you can say goodbye to your old heater and make room for a new and improved heating experience. Enjoy the warmth and comfort of your upgraded Rinnai gas heater, and stay cozy all winter long!
Remove Gas Heater from Fireplace
Precautions
Before you embark on the adventure of removing your old gas heater from the fireplace, it’s important to take some precautions to ensure your safety and the safety of your surroundings. Here are a few things to keep in mind:
-
Turn off the gas supply: It may sound obvious, but you’d be surprised how often people forget this step. Turn off the gas supply to the heater before you begin. You don’t want any surprises during the removal process!
-
Ventilate the area: Open the windows and doors to allow for proper ventilation. Gas can be dangerous, and you want to make sure any fumes can escape easily.
-
Check for leaks: Before you start disassembling the gas heater, use a gas leak detector to check for any potential leaks. It’s better to be safe than sorry!
Tools You’ll Need
Now that you’ve taken the necessary precautions, let’s gather the tools you’ll need for this gas heater removal mission:
- Screwdriver – For undoing any screws or bolts that hold the heater in place.
- Wrench – To disconnect the gas line.
- Gloves – Protect your hands from dirt and potential sharp edges.
- Safety goggles – Shield your eyes from any debris that might fly around during the removal process.
- Trash bags – Keep them handy for any garbage you might generate.
Step-by-Step Guide
It’s time to get down to the nitty-gritty and start removing that persnickety gas heater from your fireplace. Follow these steps, and you’ll have it out in no time:
-
Turn off the gas supply: Double-check that the gas supply is completely turned off before proceeding.
-
Disconnect the gas line: Use a wrench to gently disconnect the gas line from the heater. Don’t be afraid to get your muscles working on those rusty bolts!
-
Remove the casing: Carefully remove any casing or panels that are covering the gas heater. You might encounter a few hidden screws along the way, so keep your trusty screwdriver close.
-
Undo the mounting brackets: Look for any mounting brackets that are holding the gas heater in place and remove them. This might require a little bit of elbow grease, but you’ve got this!
-
Slowly extract the heater: With all the preliminary steps completed, you’re now ready to carefully remove the gas heater from the fireplace. Take your time and be mindful of any sharp edges or delicate parts.
Don’t Do It Alone!
While removing a gas heater from a fireplace might seem like a fun DIY project, it’s always wise to have a friend or family member lend a hand. Not only does it make the job easier, but it’s also good to have an extra set of eyes to spot any potential hazards.
So gather your tools, turn off the gas supply, and let’s remove that old gas heater from the fireplace together! Your fireplace will thank you for the makeover, and you’ll have a sense of accomplishment knowing you conquered the task like a pro.
How to Remove an Old Gas Heater
Assessing the Situation
Before diving into the exciting world of old gas heater removal, it’s important to take a step back and assess the situation. Safety first! Start by turning off the gas supply to the heater. Locate the gas shut-off valve and give it a gentle twist to the right. This will ensure a smooth and drama-free removal process (no one needs any gas-related surprises!).
Tools of the Trade
Now that you’re sure the gas is off, let’s gather our trusty tools. You’ll need a few essentials to tackle this project like a pro. Grab your work gloves, a wrench, and some old towels or rags (because nobody wants a messy floor).
Disconnecting the Gas
With your tools in hand and safety at the forefront, it’s time to disconnect the gas. Locate the gas line, usually attached to the back of the heater, and use your wrench to loosen the connection. Gently wiggle the line free, making sure not to twist or bend it too much. We’re dealing with gas here, folks—fragile and flammable!
Removing the Heater
Ah, the moment we’ve all been waiting for—removing the old gas heater. This step may require a bit of muscle, so channel your inner superhero. Start by locating the screws or bolts that are holding the heater in place. Depending on the model, you may find them at the top, sides, or bottom. Unscrew them one by one (confidently, of course) until the heater is no longer attached to the wall or floor.
Clearing the Space
Now that the heater is free, it’s time to clear the space and bid it farewell. Give yourself a pat on the back for a job well done so far. Wipe away any dust or debris that may have accumulated, and take a moment to appreciate the newfound openness in your home. It’s like a breath of fresh air, or more accurately, a breath free of dated appliances.
A Final Word of Wisdom
Congratulations! You’ve successfully removed an old gas heater and gained a tad more space in your life. Remember to dispose of the heater responsibly, adhering to any local regulations. And if you’re not quite confident in your removal skills, don’t hesitate to call in the professionals. Nothing wrong with seeking a little help from those in the know.
Now go forth and enjoy your newfound knowledge and expanded living quarters. May your home always be warm and cozy, minus the outdated gas heaters!
Is it Safe to Use an Old Gas Heater
Understanding the Risks
Gas heaters have been a popular choice for heating homes for many years. However, if you own an old gas heater, it’s important to consider the safety implications before firing it up. While older models may still function, they often lack the advanced safety features found in modern heaters. So, before you cozy up to your antique appliance, let’s examine the potential risks involved.
Carbon Monoxide Concerns
One of the biggest concerns with old gas heaters is the possibility of carbon monoxide (CO) leaks. Carbon monoxide is a colorless, odorless gas that can be deadly if inhaled in high concentrations. Unfortunately, older gas heaters have a higher risk of emitting CO due to poor ventilation or faulty combustion processes.
The Importance of Regular Inspections
To ensure your safety, it’s essential to have your old gas heater inspected regularly by a qualified professional. The technician will check for any potential leaks, assess the condition of the device, and verify that it’s functioning correctly. Regular inspections provide peace of mind that you and your loved ones aren’t at risk of carbon monoxide poisoning or other hazards.
Considering Replacement Options
If your old gas heater poses a safety risk, it might be time to consider replacing it with a newer, more efficient model. Apart from increased safety, modern gas heaters also offer improved energy efficiency, which can save you money in the long run. Plus, with the advancements in technology, you can find models that provide better temperature control, quieter operation, and even lower emissions.
Taking Precautionary Measures
If replacing your old gas heater isn’t feasible just yet, you can still take some precautionary measures to mitigate risks. Ensure that the area around the heater is well-ventilated. Keep flammable items away from the unit and make sure it’s placed on a stable surface. Also, don’t forget to install carbon monoxide detectors in your home and test them regularly.
While an old gas heater may hold nostalgic value, it’s crucial to prioritize safety. With the potential risks of carbon monoxide leaks and other hazards, regular inspections and considering replacement options are essential. By taking the necessary precautions and staying informed, you can enjoy a warm and cozy home without compromising your safety. Stay warm, stay safe!
How Much Does It Cost to Remove a Wall Heater
Let’s talk about the cost involved in removing a wall heater. If you’re considering getting rid of that old gas heater, you’re probably wondering how much it’s going to set you back. Well, fear not! We’re here to shed some light on the subject and give you a rough idea of what you can expect to pay for this service.
Pricing Factors to Consider
Before we dive into specific numbers, it’s important to note that the cost of removing a wall heater can vary depending on several factors. These factors include the complexity of the job, the size and location of the heater, the materials involved, and even your location. Keep in mind that prices can differ from region to region, so it’s always a good idea to get a few different quotes to compare.
Inquiring Minds Want to Know: How Much
On average, the cost of removing a wall heater can range from $500 to $1500. However, this is just a general estimate, and the actual cost could be higher or lower depending on your unique circumstances. For example, a straightforward removal of a small heater in a relatively accessible location will likely be on the lower end of the price spectrum. On the other hand, if you have a larger unit in a hard-to-reach spot, you may end up paying more.
Additional Costs to Consider
Now, let’s not forget about the additional costs that may come into play. Depending on your situation, you might need to hire a professional to patch up the wall after the heater is removed. This could involve patching the drywall, retexturing, and repainting, which can add a few more bucks to the total bill.
When it comes to the cost of removing a wall heater, it’s important to consider various factors that can affect the price. While the average cost may range from $500 to $1500, it’s always a good idea to get quotes from professionals in your area to get a more accurate estimate. Don’t forget to account for any additional work that may be required, such as wall repair. With some research and planning, you’ll have a clearer idea of what to expect and can budget accordingly.


