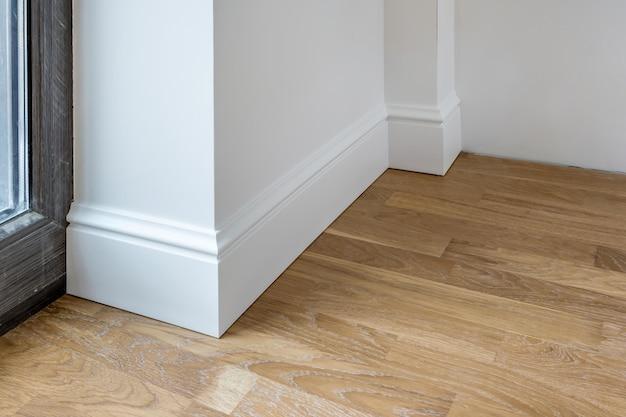
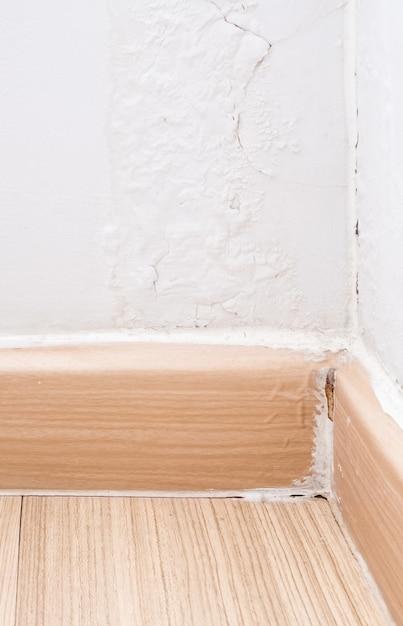
Are you planning to install quarter round molding in your home but unsure how to deal with those tricky inside corners? Don’t worry; we’ve got you covered! In this comprehensive guide, we’ll walk you through the process of cutting quarter round inside corners like a pro.
Inside corners can be challenging, but with the right techniques and tools, you can achieve clean and seamless results. Whether you’re a DIY enthusiast or a professional, this blog post will provide you with step-by-step instructions and tips to make the process easier.
So, grab your miter saw, put on your safety goggles, and let’s dive into the world of quarter round inside corners. By the end of this guide, you’ll have the confidence and skills to tackle this task with ease. Let’s get started!
How to Master the Art of Cutting Quarter Round Inside Corners
So, you’ve decided to take on the challenge of cutting quarter round inside corners, huh? Well, don’t worry, my friend, because I’m here to guide you through this nail-biting adventure. Cutting quarter round inside corners can be a tricky business, but fear not, with a little patience and a dash of humor, you’ll be tackling those corners like a pro in no time!
Gather Your Tools, Brave Warrior!
Before you embark on this daring quest, you’ll need to arm yourself with the right tools. Think of it as choosing your weapons wisely. For this mission, you’ll need a miter saw or a coping saw, a tape measure, a pencil, and some good ol’ quarter round molding. These tools will be your trusty sidekicks as you navigate the treacherous world of inside corners.
Measuring Up Like Sherlock Holmes
Now that you’re prepared, it’s time to put your detective hat on and channel your inner Sherlock Holmes. You see, measuring is key when it comes to cutting quarter round inside corners. Take your tape measure and carefully measure the length of the wall where the quarter round will be installed. Remember, measure twice, cut once. Accuracy is your bestest friend in this endeavor.
The Miter Saw: Your Mighty Weapon
Ah, the mighty miter saw, the Excalibur of carpentry tools. This bad boy will come to your aid when it’s time to make those precise cuts. Start by setting your miter saw at a 45-degree angle. Place the quarter round in the saw with the flat side against the fence and the bottom against the base. Proceed to carefully make your cut, but be warned, this is no time for haste!
Coping Saw: A Weapon of Finesse
For those who prefer a more hands-on approach, the coping saw is your weapon of choice. This tool requires a delicate touch and a steely hand. Begin by making a straight cut at a 45-degree angle with a miter saw, just as we did before. Next, grab your coping saw and remove the waste wood by cutting along the edge of the shape of the molding. Think of it as sculpting a delicate piece of art.
Practice Makes Perfect
Now, my apprentice, remember that even the greatest masters of the quarter round inside corners weren’t born with those skills. It takes practice, patience, and maybe a few muttered curse words. So, don’t be discouraged if your first attempt leaves you feeling a tad frustrated. Keep at it, and soon you’ll be boasting about your impeccable craftsmanship to anyone who will listen.
The Final Fit: Like a Glove!
Congratulations, my fearless companion! You’ve made it to the final fit, the moment of truth. Take your freshly cut quarter round inside corner molding and carefully place it in its rightful spot. Admire your handiwork as the pieces snugly fit together, creating a seamless and polished look. Stand back, pat yourself on the back, and revel in the glory of your accomplishment!
Alright, my brave warrior, you now possess the knowledge and skills to conquer the treacherous task of cutting quarter round inside corners. Remember, measure twice, cut once, and never underestimate the power of a good sense of humor. Now, go forth and conquer those corners like the champion you are!
This blog post is a work of fiction. Any resemblance to actual events or persons, living or undead, is purely coincidental.
How to Cut Quarter Round Inside Corners: FAQ
Q: What are outside corners?
Outside corners are the corners where two walls meet and form an angle that extends outward. They are usually found in rooms and are commonly seen in architectural designs.
Q: How do you make a 45 degree angle without a protractor or compass?
Making a 45-degree angle without a protractor or compass can be a bit tricky, but fear not! One easy way to achieve this is by using a simple square. All you have to do is line up one edge of the square with the end of your material, then draw a line along the other edge of the square. Voila! You’ve got yourself a 45-degree angle.
Q: What is an outside corner vs inside corner?
An outside corner refers to the angle formed when two walls meet and extend outward. On the other hand, an inside corner occurs when two walls meet and create an angle that extends inward. Think of it like this: outside corners are like sharp teeth sticking out, while inside corners are like cozy nooks.
Q: Should shoe Moulding be coped?
It’s not mandatory to cope shoe Moulding, but it certainly adds a touch of finesse to your project. Coping involves carefully cutting away the back edge of one piece of Moulding to fit snugly against the profile of another piece. It requires attention to detail and a steady hand, but the end result is a seamless and professional-looking finish.
Q: What can I use for inside corner bead?
For inside corners, you can use a variety of tools and materials to create a clean and polished look. Some popular options include metal corner beads, PVC corner beads, and even traditional wood corner beads. Each has its own distinct advantages, so choose the one that best suits your needs and preferences.
Q: How do you cut quarter round inside corners with a miter saw?
Cutting quarter round inside corners with a miter saw is a breeze. Set the miter saw to a 45-degree angle, position the quarter round securely against the fence and the base of the saw, and make the cut. Remember to measure twice and cut once to ensure a precise fit in your corners.
Q: What is an inside corner called?
An inside corner is commonly referred to as a “miter joint.” It is a joint formed when two pieces of material meet at an angle greater than 90 degrees, creating an inward angle.
Q: What angle do you cut quarter round for corners?
When cutting quarter round for corners, it’s important to cut the ends at a 45-degree angle. This allows the pieces to fit together neatly, forming a tight and seamless corner.
Q: What is inside corner molding?
Inside corner molding is a decorative trim that is used to cover the joints where two walls meet at an inside corner. It adds a touch of elegance and helps to hide any imperfections in the joint.
Q: Is there an inside corner bead for drywall?
Yes, there is! Inside corner beads specifically designed for drywall are available in the market. These beads provide a clean and crisp edge to the inside corners, making the installation of drywall much easier and ensuring a professional finish.
Q: What angle do you cut inside corner trim?
When cutting inside corner trim, you typically want to cut both ends at 45-degree angles. This ensures a snug fit and a seamless joint when the two pieces of trim meet at the corner.
Q: How do you do a quarter round coping cut?
To do a quarter round coping cut, start by cutting a 45-degree angle on one end of your quarter round. Then, using a coping saw, carefully follow the profile of the adjacent piece of quarter round as you remove the excess material. The result is a precise, tight fit that perfectly matches the existing profile.
Q: What is Scotia trim?
Scotia trim, also known as cove molding, is a concave-shaped trim that is commonly used for decorative purposes. It adds a touch of elegance and can be used to soften the transition between two surfaces, such as where the wall meets the ceiling or the floor.
Q: How do you cut a concave corner trim?
Cutting concave corner trim requires some specialized techniques. One way to achieve this is by using a coping saw to carefully follow the concave shape of the trim as you remove the excess material. It may take a bit of practice, but with patience and precision, you can achieve a perfect fit.
Q: How do you cut a 45 degree corner trim?
To cut a 45-degree corner trim, simply set your miter saw to a 45-degree angle, place the trim against the fence and the base, and make the cut. This will create a clean and precise angle that fits perfectly with the adjacent piece of trim.
Q: What are the three different ways to cut a Mitre joint?
There are three different ways to cut a Mitre joint: using a miter saw, a miter box and hand saw, or with a table saw and a miter gauge. Each method has its own advantages and requires different tools, so choose the one that best suits your skill level and available resources.
Q: How do you cut an angle without a miter saw?
If you don’t have a miter saw, fear not! You can still cut angles using a few simple tools. One option is to use a miter box and a hand saw. Another alternative is using a table saw with a miter gauge. Both methods require a bit of patience and precision, but they can yield excellent results.
Q: How do you cut quarter round trim for a 3-way corner?
Cutting quarter round trim for a 3-way corner requires a combination of miter cuts and coping cuts. Measure carefully and make 45-degree miter cuts on the ends that will form an outside corner. For the inside corner, use coping cuts to achieve a precise fit against the existing trim. With practice, you’ll be able to achieve a seamless and professional finish.
Q: What angle do you cut baseboard corners?
When cutting baseboard corners, it’s common to cut them at a 45-degree angle. This allows the pieces to fit together neatly and create a clean and polished corner. Remember to measure twice and cut once to ensure a precise fit.
Q: Can you use a circular saw to cut quarter round?
Yes, you can use a circular saw to cut quarter round. Just make sure you have the appropriate blade, such as a fine-toothed blade, to ensure clean and accurate cuts. Set the depth of the saw to match the thickness of the quarter round, position the material securely, and make the cut with steady and controlled movements.

